

Fingerprint and password settings
1 Press any finger on the fingerprint sensor, and the sensor indicator will light up blue and then turn off (or press 123456 + # key on the keypad if there is one). The voice prompt will say “Under factory setting, opened”. To lock the door, press the # key while the door is open or press any finger on the fingerprint sensor.
Note: When the door is open, short-press the initialization button, and the voice prompt will say “Please put your finger on scan sensor, or enter your user code”. The keypad light will turn on, and the fingerprint light will be in blue breathing mode. If you need to add a fingerprint, place the fingerprint to be recorded on the fingerprint sensor, and the voice will broadcast “Please do again”. At this time, lift your finger and then press it on the fingerprint sensor again. Repeat this operation three times in total. If you need to add a password, enter a 6-digit password and then press the # key. At this time, the voice will broadcast “Please do again”. Repeat the password you just entered and press the # key. Then the voice will broadcast “Register completed”.
Note: The same password cannot be added repeatedly, and a password with 6 identical digits cannot be added. A total of 50 fingerprints can be added and can be recorded repeatedly. To prevent misoperation, the keypad is blocked during the fingerprint addition process. The password can only be 6 digits. A total of 10 passwords can be added. For security reasons, the specific password content will not be displayed after addition. Please remember the password.
2 Master password:
The initial master password is 800000. Enter **master password #, and the voice prompt will say “Please enter new master code”. Enter a new 6-digit master password and press #. When you hear the voice “Please do again”, repeat the above operation and press #. The voice broadcast “Register completed” indicates that the master password has been successfully modified. After initialization, the master password returns to 800000.
Fingerprint and Password Unlocking and Locking
1 When the door is closed, place the registered fingerprint on the fingerprint sensor. The fingerprint light will turn green and the voice prompt will say “Verification completed”. Then the device will automatically open. After it is fully opened, the voice prompt will say “Opened”. At this time, an unlocking record is generated and can be viewed in the unlocking record column on the main interface.
If an unregistered fingerprint is used on the fingerprint sensor, the fingerprint light will turn blue and then red, and the voice prompt will say “Verification failed”. When the device is bound and no fingerprint has been added, if an unregistered fingerprint is pressed on the fingerprint sensor, the fingerprint light will only turn blue and not red. After 5 attempts with an unregistered fingerprint, the device will be locked for 5 minutes.
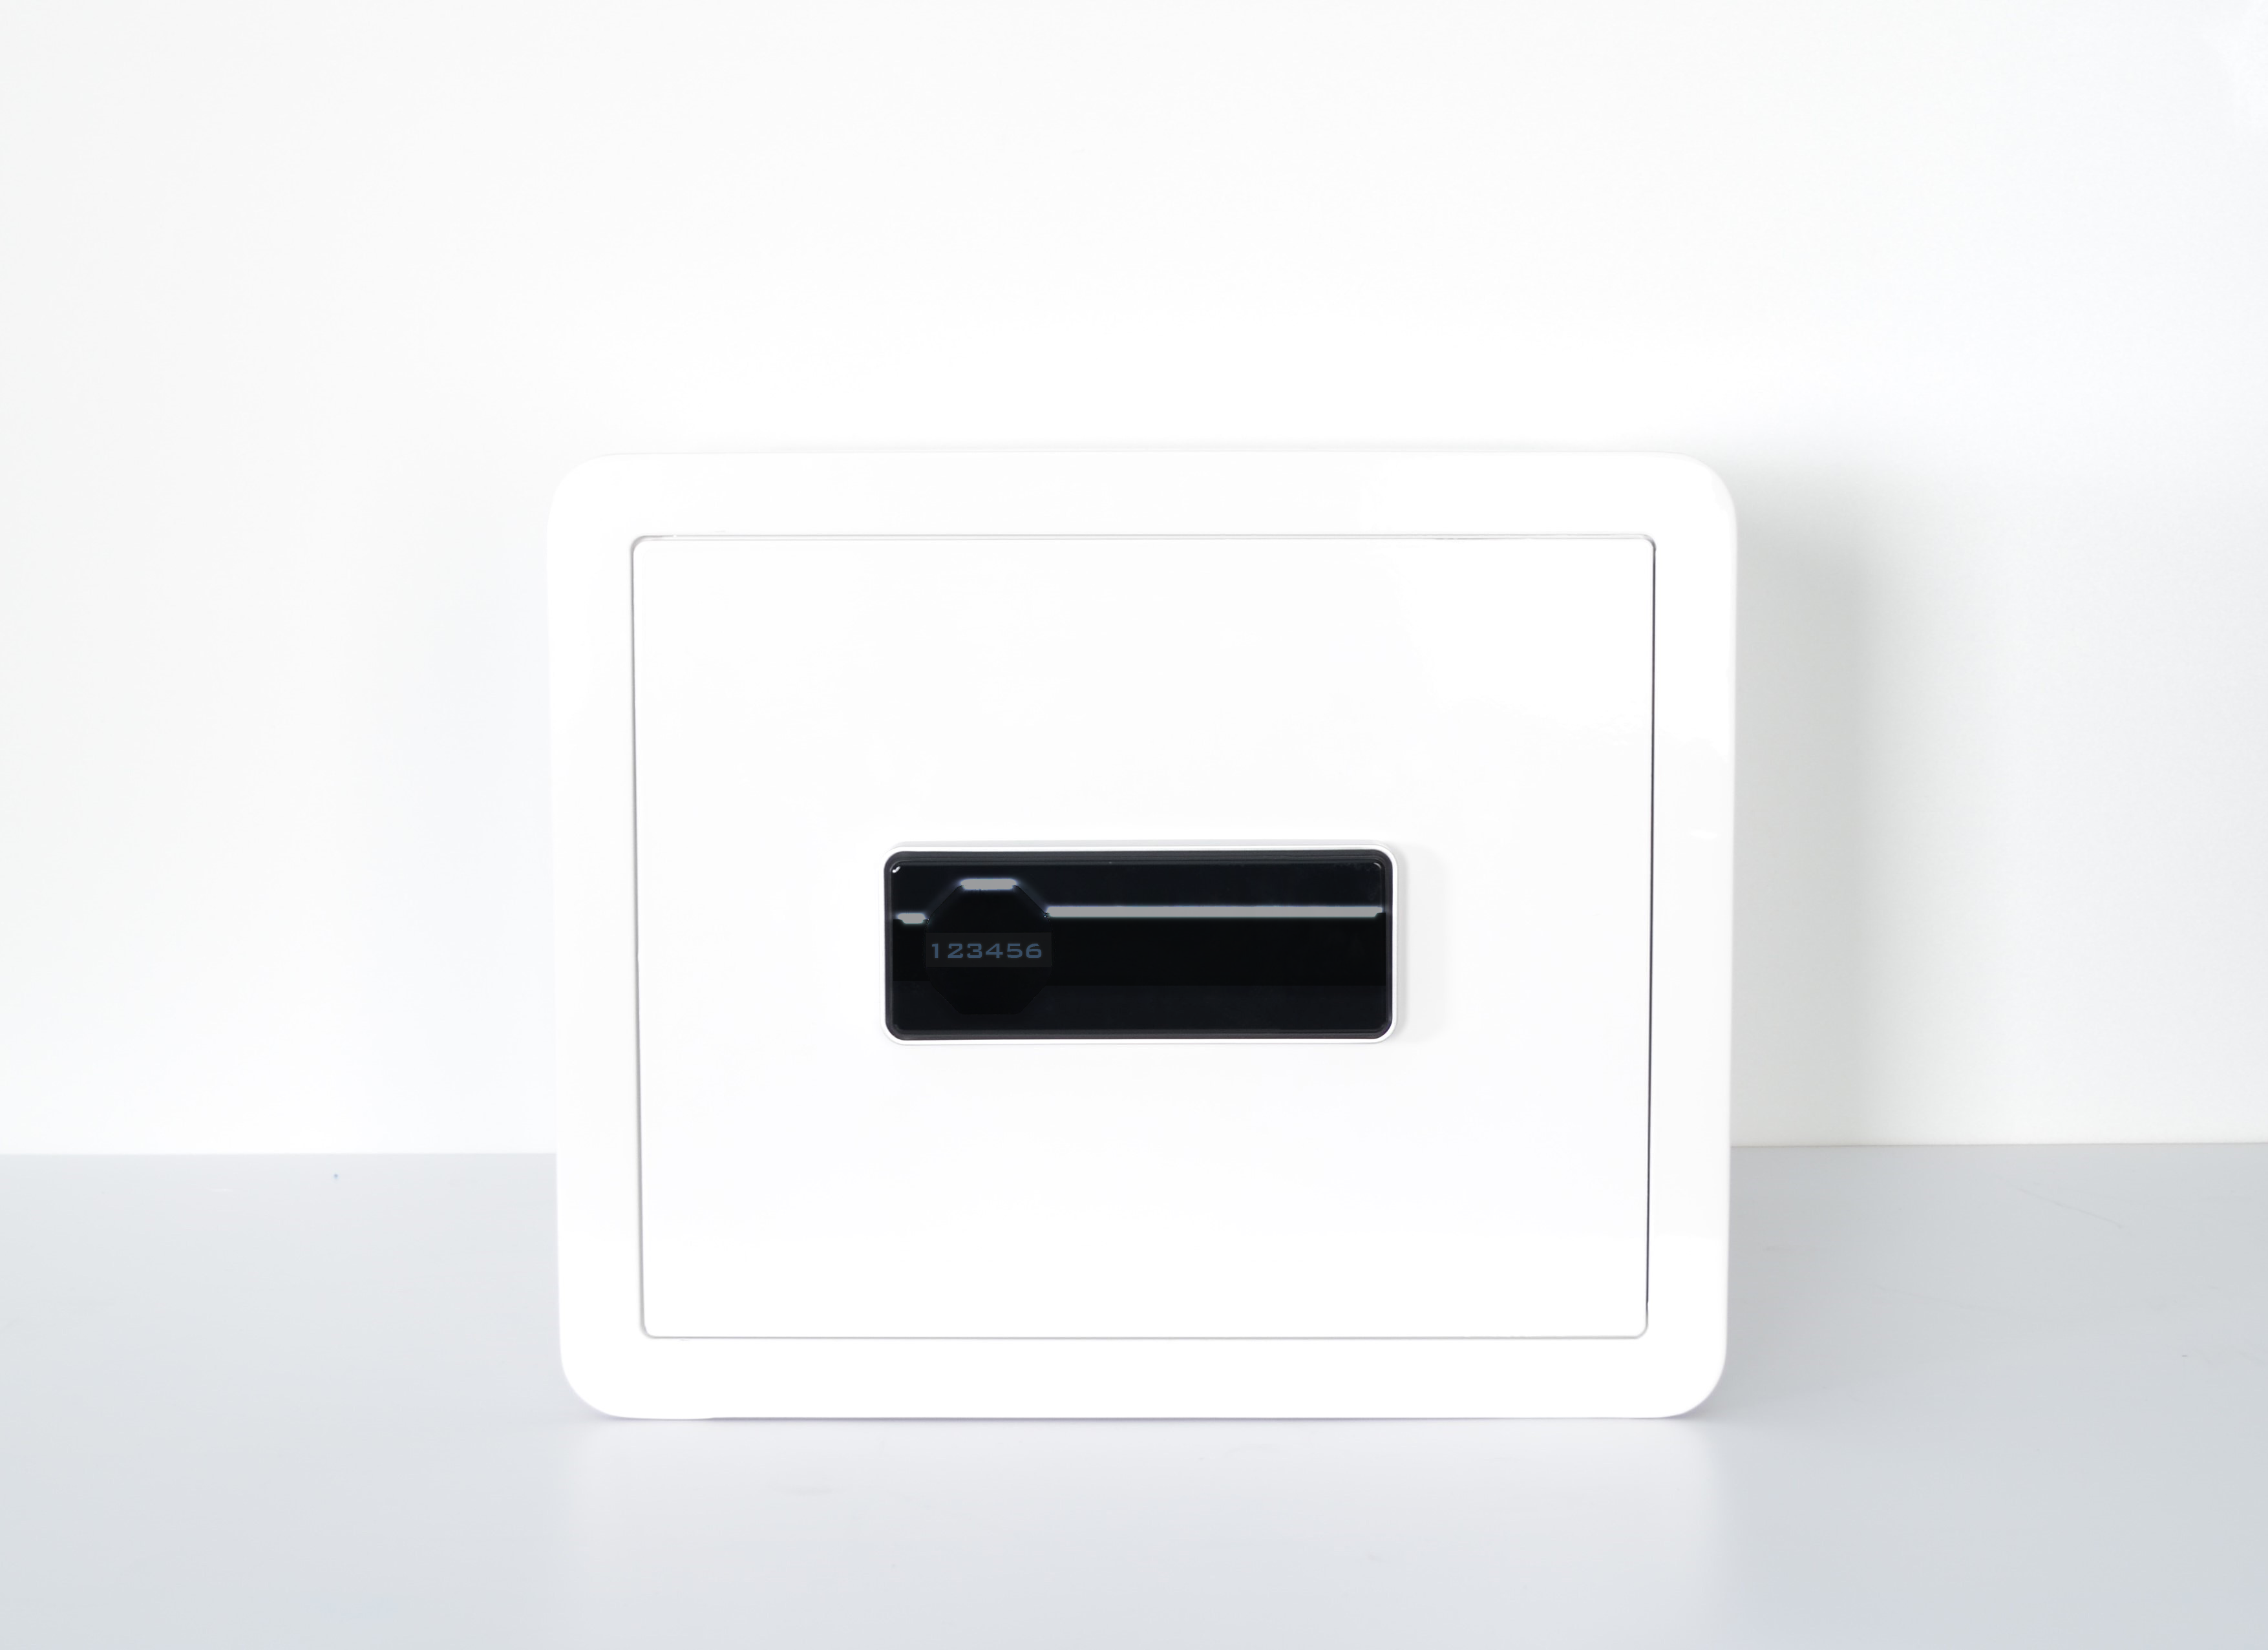
2 This device has a virtual password setting. Enter a digital string with a total length of no more than 20 digits including the correct password in the touch panel area and press the # key. The voice prompt will say “Verification completed”. Then the device will automatically open. After it is fully opened, the voice prompt will say “Opened”.
If an incorrect password is entered, the keyboard light will flash twice. After 5 attempts with an incorrect password, the voice prompt will say “Multiple password errors, system locked”. After the keyboard light flashes slowly several times, the device will be locked for 5 minutes.
3 When the safe door is open, simply press the # key to close it.
Local Settings
1 In the factory mode, press **65465411#, and when you hear the voice “Operation complete”, it means that the device has been switched to the “Flat Finger Mode”, which is suitable for users with blurred fingerprints. Enter **65465433#, and when you hear the voice “Operation complete”, it means that the “Flat Finger Mode” has been cancelled.
2 Enter **554# to turn the volume on or off.
3 Enter **6665556# to switch between Chinese and English prompt languages.
4 Enter **9110#, **9111#, **9112#, **9113# to set the vibration detection to off, sensitive level, medium level, and insensitive level respectively.
5 Enter **222# and the device will broadcast the current version number.
6 Enter **9110#, **9111#, **9112#, **9113# to set the vibration detection to off, sensitive level, medium level, and insensitive level respectively. After verifying the administrator, enter **551# to switch between the combined unlocking and single unlocking functions.
System Initialization
After unlocking the device, press and hold the initialization setting button for 5 seconds. When you hear the sound effect that is heard when the power is turned on, then release the button. You will hear the voice prompt “Reset complete” followed by the sound effect that occurs when the power is first turned on. This indicates that the device has been successfully restored to its factory settings.
Note: After the device is restored to its factory settings, all fingerprints can unlock it, the voice volume will return to the normal volume, but the voice language will not switch back to Chinese. After local initialization settings, the previously bound devices will not be able to connect again. Please bind them again according to the first step mentioned above.
External Power Supply
When the device cannot be turned on due to a lack of power, an external power supply can be provided by using a power bank or similar device. Just insert the USB TYPE-C plug to supply power externally.
Replacing Batteries
When unlocking the door or connecting the APP to the door lock, if you hear the voice prompt “Battery low, please replace”, you should replace the batteries in time after opening the door. Remove the battery cover latch and take out all 4 size AA batteries at once for replacement. Install 4 brand-new size AA alkaline batteries correctly according to the positive and negative battery directions marked on the battery cover. After putting the cover back on, the battery replacement is completed successfully.


